As your Next.js application grows and scales, one of the key challenges becomes managing cache efficiently across multiple instances. Next.js, by default, uses Incremental Static Regeneration (ISR) to generate static pages, which are cached for faster subsequent requests. However, when you deploy multiple instances — especially in Kubernetes or cloud environments — this local caching mechanism can quickly become inefficient, leading to duplicated data and wasted resources.
In this guide, we’ll show you how to integrate Redis as a shared cache for your Next.js application, improving scalability and performance while also ensuring your caching strategy is robust and fault-tolerant.
The Problem: Inefficiencies in ISR and Local Caching
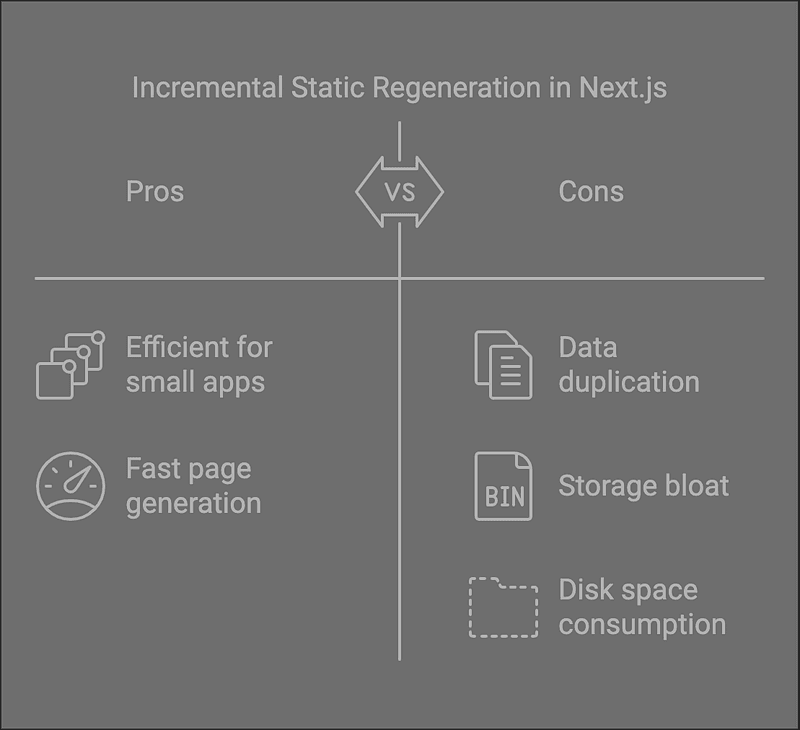
When you use Next.js with Incremental Static Regeneration, pages are generated once and stored in the file system. While this works well for small applications, it can become problematic as your application scales. In a multi-instance environment (e.g., Kubernetes), each instance may store its own cache, leading to issues such as:
- Data Duplication: Each Next.js instance holds a separate copy of cached data, consuming unnecessary disk space.
- Storage Bloat: In large-scale deployments, this duplication can quickly add up, leading to storage inefficiencies.
Example Scenario
Imagine a scenario with 10 instances of Next.js running in a Kubernetes cluster, each consuming 20GB of disk space for caching. This results in 200GB of cached data — data that could easily be shared across instances if a shared cache mechanism were in place.
The Solution: Redis as a Centralized Cache

Redis is an in-memory data store known for its high performance and low-latency operations. By using Redis as a centralized cache, all instances of Next.js can share cached data, reducing redundancy and saving resources. Redis also offers the benefit of easy scaling, so as your app grows, Redis can handle the increased load efficiently.
Benefits of Redis Caching:
- Shared Cache: All instances of Next.js access the same cached data, reducing data duplication and optimizing storage.
- Fallback Mechanism: Redis can serve as the primary cache, with a fallback to an in-memory LRU (Least Recently Used) cache in case Redis becomes temporarily unavailable.
- Improved Scalability: Redis is designed for scalability, handling increasing traffic with minimal performance degradation.
Step-by-Step Guide to Implement Redis Caching in Next.js
Step 1: Configure next.config.js
// next.config.js
module.exports = {
  cacheHandler:
    process.env.NODE_ENV === "production"
      ? require.resolve("./redis-cache-handler.mjs") // Path to the custom cache handler
      : undefined,
};
This setup ensures that the cache handler is only applied in production. During development, the default caching mechanism will be used.
Step 2: Create the Cache Handler
// redis-cache-handler.mjs
import { CacheHandler } from "@neshca/cache-handler";
import createLruHandler from "@neshca/cache-handler/local-lru";
import { createClient } from "redis";
import createRedisHandler from "@neshca/cache-handler/redis-strings";

CacheHandler.onCreation(async ({ buildId }) => {
  let client;
  let handler;
  if (!process.env.REDIS_URL) {
    console.warn("REDIS_URL env is not set, using local cache only.");
  } else {
    try {
      client = createClient({
        url: process.env.REDIS_URL,
        connectTimeout: 10000,
        socket: {
          reconnectStrategy: (retries) => {
            if (retries > 5) {
              console.log(
                "Too many attempts to reconnect. Redis connection was terminated."
              );
              return new Error("Too many retries.");
            } else {
              return retries * 500;
            }
          },
        },
      });
      client.on("error", (error) => {
        console.error("Redis client error:", error);
      });
      client.on("ready", () => {
        console.info("Redis client ready.");
      });
      await client.connect();
    } catch (error) {
      console.warn("Failed to create Redis client:", error);
      if (client) {
        await client.disconnect();
      }
    }
    if (client?.isReady) {
      handler = await createRedisHandler({
        client,
        keyPrefix: `next-shared-cache-${buildId}:`,
        timeoutMs: 5000,
      });
    }
  }
  if (!handler) {
    handler = createLruHandler();
    console.warn(
      "Falling back to LRU handler because Redis client is not available."
    );
  }
  return {
    handlers: [handler],
    ttl: {
      defaultStaleAge: process.env.NEXT_PUBLIC_CACHE_IN_SECONDS,
      estimateExpireAge: (staleAge) => staleAge,
    },
  };
});
export default CacheHandler;
Handling Redis Failures and Cache Expiration
If Redis goes down, the application will fall back to an in-memory LRU cache, ensuring no downtime or loss of functionality.
Configurable Cache Expiration
Set TTL (Time To Live) values to ensure that cached data doesn’t persist indefinitely using NEXT_PUBLIC_CACHE_IN_SECONDS.
Conclusion
Using Redis as a shared cache in your Next.js application:
- Improves performance
- Optimizes storage
- Ensures scalability and consistency across multiple instances
Next Steps
- Explore advanced Redis features like Redis Cluster.
- Refer to Neshca Cache Handler Docs.
- Read the Next.js Caching Guide.
- Monitor Redis performance with Prometheus or Datadog.
- Experiment with dynamic cache invalidation strategies.